
Baking pan size guide
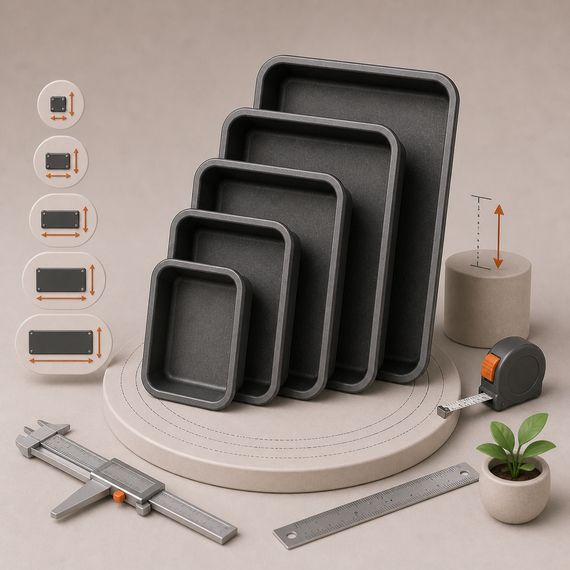
Baking pan size should be defined by the outside frame dimensions, usable inside area, depth, and handling details together. An order stating only “40 × 60” does not explain the unit, whether rims are included, the direction in which the pan will travel, or the area available to the product.
A complete measurement list should answer two separate questions: does the pan fit the equipment, and can it produce the product in the required shape? Recording the outside dimensions that enter the oven separately from the inside geometry in contact with the dough makes these checks easier.
State the measurement unit and reference surface
1 cm equals 10 mm, so 40 × 60 cm and 400 × 600 mm express the same lengths. Matching two numbers does not, however, mean that two pans have identical overall geometry. Corner shape, rim profile, base flatness, and support frame may differ.
Identify the axes for length, width, and height on the technical drawing. Front entry and side entry can produce different rail contact even for a pan with the same outside dimensions. Where possible, state dimensions in millimeters and in a consistent order; using mm does not automatically make the measurement more precise.
| Dimension | Where to measure | What it determines |
|---|---|---|
| Overall length and width | Across the frame, including the outermost projections | Compatibility with the oven, rack, and conveyor |
| Top inside dimensions | At the top opening of the product cavity | Filling and upper product geometry |
| Base dimensions | Specify whether inside or outside | Lower geometry and taper |
| Inside depth | From the inside base to the defined top plane | Usable height |
| Overall height | Between the lowest and highest outside points | Rail spacing and stacking checks |
| Sheet thickness | On the body, with the measurement location identified | Material specification and production control |
This distinction is also visible in actual manufacturer data. Chicago Metallic’s bread pan page for item 44235 lists top inside dimensions, bottom outside dimensions, vertical depth, and overall dimensions separately. A value from one field must not be substituted for another. See the product dimension table.
Nominal format does not fully establish oven compatibility
Do not confuse the 400 × 600 mm bakery format with the 1/1 GN format. RATIONAL lists the 400 × 600 mm bakery sheet pan and the 325 × 530 mm 1/1 GN pan as separate options. This information distinguishes size families; it does not establish automatic compatibility with a different oven model. See RATIONAL’s pan formats.
A 30 × 40 cm sheet pan has half the area of a 40 × 60 cm rectangle. However, “half size” does not mean that the smaller pan fits the same support rails as the larger pan. Ask the equipment manufacturer to confirm whether an adapter, carrier tray, or different rail arrangement is required.
Do not measure only the oven cavity. Also assess the doorway, rail support surfaces, rack entry direction, obstructions inside the oven, and product height after rising. Do not estimate one universal clearance for movement and air circulation; determine it from the machine documentation and a loading trial.
Cavity layout for hamburger bun and muffin pans
For a multicavity pan, specify cavity diameter or length and whether it is measured at the top opening or the base. Add cavity depth, row and column counts, edge margins, and center-to-center spacing along both axes to the drawing. “20 mm between cavities” is ambiguous on its own: it may mean center-to-center spacing or the gap between two openings.
For equal-diameter circular openings in a straight row, the geometric relationship is: center-to-center spacing = opening diameter + edge-to-edge gap between openings. The length spanning the openings in a row of n cavities is one cavity diameter + (n – 1) × center-to-center spacing. Add the margins at both ends separately.
This calculation describes only the geometry of the stated layout. It does not determine how many products will bake well or the minimum process clearance between cavities. Product spread, rise, fill tolerance, and depanning mechanism requirements must be checked with a sample. Staggered layouts or noncircular cavities require a separate drawing.
Do not derive dough weight from mold volume alone
Determining dough piece weight requires the formulation, proofing conditions, and intended baked product as well as net inside volume. Different doughs may not reach the same height or shape in a cavity of identical volume. Do not therefore calculate dough weight from catalog outside dimensions and treat it as a definitive fill amount.
For a rectangular mold with vertical inside walls and a flat base, volume is inside length × inside width × inside depth. If it has tapered walls, a curved or domed base, or rounded corners, this simple multiplication does not give the exact volume. Use a CAD model or the manufacturer’s specified volume measurement method.
For a lidded sandwich bread pan, check the body and lid as a set. Assess the lid track, closing movement, overall height including the lid, and the possibility of separation during loading using the drawing and sample. The presence of a lid does not by itself define a particular fill ratio.
Add the perforation pattern and sheet thickness to the drawing
For perforated pans, simply writing “perforated” is insufficient. Show hole diameter or shape, hole center-to-center spacing, unperforated edge areas, and which cavity surfaces contain holes. These areas can be treated as separate inspection points in product and cleaning trials.
Do not fix one “optimum” wall thickness range for all bread pans. Selection must be assessed alongside material grade and body reinforcement. If the sheet is coated, state whether the specified thickness refers to the metal body or the total thickness. The quoted dimension and inspection measurement must use the same definition.
Prepare reliable measurements from an existing pan
Instead of using a single deformed pan as the reference, compare an approved drawing and several sound examples where possible. Do not copy distortion in a used pan into the new design dimensions. Marking measurement locations on photographs reduces ambiguity during repeat measurements and supplier discussions.
- State the pan code, direction of use, and measurement unit.
- Measure the outside frame, inside cavities, height, and support surfaces separately.
- Photograph corners, rim profiles, joints, and the lid, if fitted.
- Record the measurement conditions, measuring instrument, and visible deformation.
- Agree on acceptance tolerances with the pan and equipment manufacturers.
Before placing a production order, trial the sample on the actual line from depositing through stacking. A dimensional check on a cold pan alone does not establish its behavior at operating temperature. After the trial, record the drawing revision and approved sample code, and confirm that subsequent orders use the same reference.
Your technical assessment file should include the latest drawing, product piece weight, oven and rack models, pan quantity, operating temperature, and photographs of existing fit problems. This file makes the dimensional information clear for both new-pan assessment and coating assessment of existing pans.